In this tutorial we will show you how to put your Magento online store in maintenance mode so your visitors know that you’re working on your website.
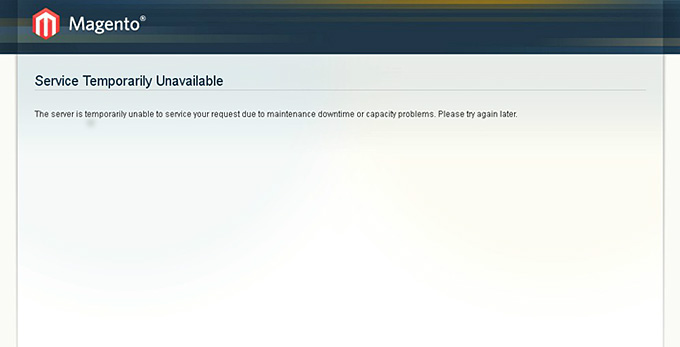
To put a Magento site in maintenance mode, you need to create an empty maintenance.flag file and upload it to the root folder of your site. After that your web site will look like this:

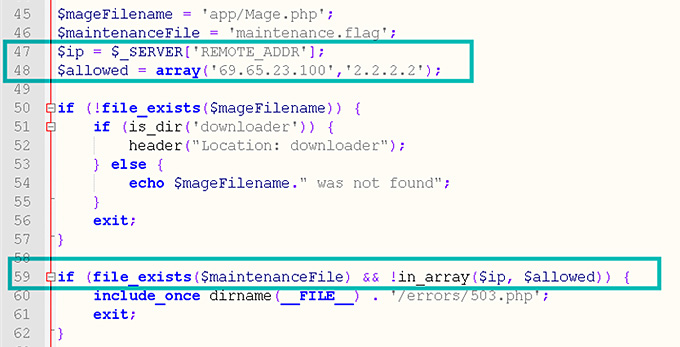
Note, that once you enable the maintenance mode, even if logged as admin, you won’t be able to access the front end of the site. You will need to modify the index.php file in the Magento root folder to grant access to certain IP addresses that can load the site. To do this, open the index.php file and add this code on line 47:
$ip = $_SERVER['REMOTE_ADDR'];
$allowed = array('69.65.23.100','2.2.2.2');
In the $allowed = array(‘69.65.23.100′,’2.2.2.2′); you should specify list of IPs that will have access to your site.
Next, search for this piece of code:
if (file_exists($maintenanceFile)) {
and replace it with this:
if (file_exists($maintenanceFile) && !in_array($ip, $allowed)) {
The modified index.php file should look like this:

If you want to display more information than simply a maintenance mode text, you can edit the 503.phtml file located under the Errors/Default folder.

 Phone: 1(877) 215.8104
 Login
Login