It is rather inconvenient to manually add a large number of products at once to a Magento installation. Inserting products one by one will take a long time especially when you have hundreds or thousands of products.In such cases you need an automatic way to add all those products to your Magento online store. We will address all steps you need to take in order to achieve a successful import.
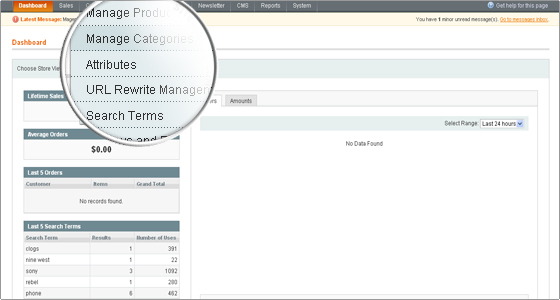
First, access your Magento administrator backend and go to Catalog -> Manage Categories.
Create all product categories you will need. You can do so by filling the form displayed below:
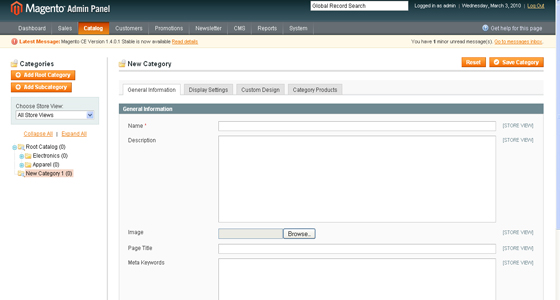
When you fill the form with all the information you like click the Save Category button.
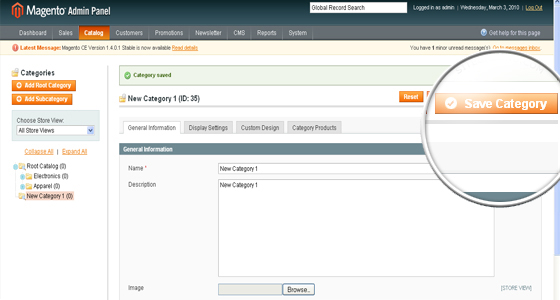
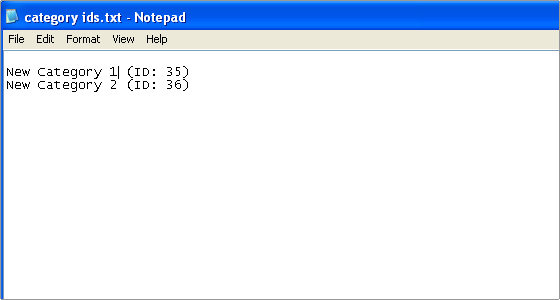
Bear in mind that at this point you should make note of the newly created category ids. It would be best to save them in a simple text file as you will need them for the import. The category ID will be displayed upon saving the category. It is recommended to make notes as shown below
If you plan to have additional attributes for the products you are importing you will need to create those via Catalog ->Attributes ->Manage Attributes -> Add new Attribute. You can use this functionality to add all custom attributes that are not present by default in a standard Magento installation. Note also that you can add additional attributes later at the moment you are creating a sample product. It is up to you whether to create the attributes before that or at the point you are creating the first product.
The next step is to manually add a product to your Magento installation. You will later export this product and use it as a template for importing the large batch. Make sure you include all attributes you will use for the products you are going to import in the sample product. You might want to delete all default products that might be present as you will not need them and then create the new product you will use as a template for the import.
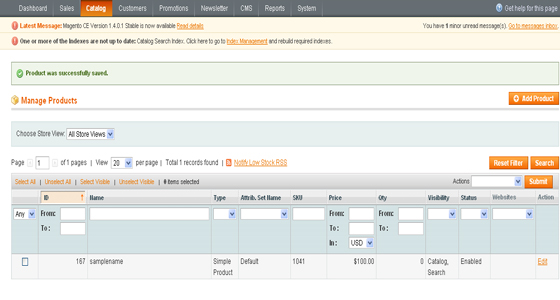
Once you create the new product and save it it will appear in the products list for your Magento store.
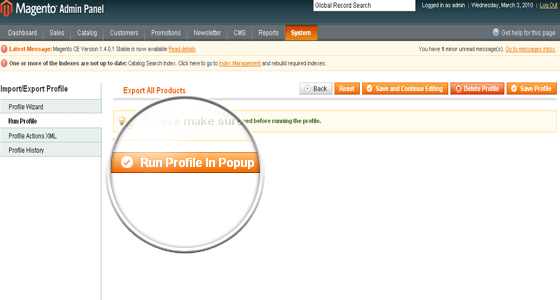
You are now ready to make the sample export that you will use as a template. In the Magento administrator area go to System -> Import/Export -> Dataflow – Profiles -> Export All Products. Under Profile Information -> Store choose the desired store where you will be importing the products. This should also match the store where you have previously created a sample product. Under Data Transfer drop down menu choose Local/Remote Server. Under Data Format make sure CSV / Tab Separated is selected for type and click Save Profile. Then click export all products again and click Run Profile in Popup.
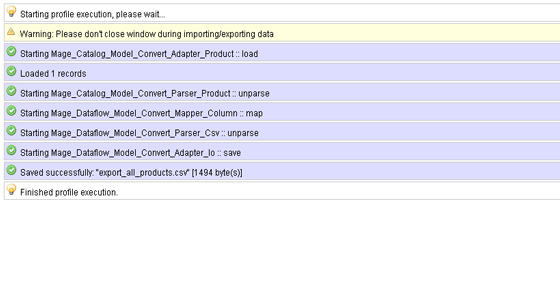
This will save a file named “export_all_products.csv” under the var/export/ directory for your Magento installation. The export success screen will look like this and will specify the file name where the products were exported.
Using an FTP client download this file to your local computer. The file will include columns for each of the attributes you have defined for your products. Open it in a spreadsheet program (MS Excel, Open Office Spreadsheet) and add the products you would like to import. Make sure you are copy/pasting the corresponding attributes in the correct columns. Also here is when you will have to add the category IDs. Use the IDs from the text file you saved earlier and put the corresponding category ID for the products you are adding.
Once you have accomplished the above go back to the Magento administrator area and choose System -> Import/Export -> Dataflow – Profiles -> Import All Products. Then choose Upload file and browse for the .csv file that you have updated with the products that need to be imported. Once you have uploaded it click Import All Products again, then Run Profile, select the .csv file you have just uploaded from the drop down menu and click Run Profile in Popup. A status screen will open and the products will start importing
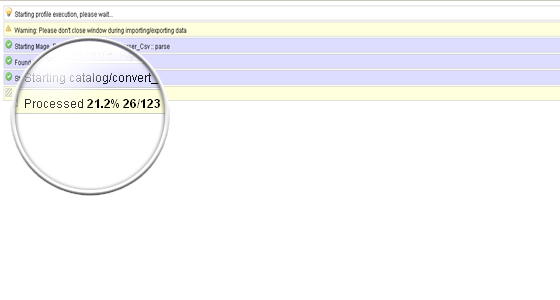
When the import completes you will get an export success message.
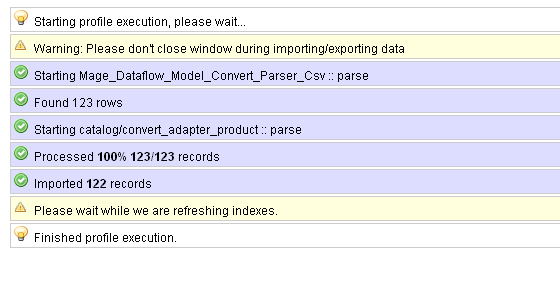
You can now go to the products section of the Magento administrator backend and check the imported products. They will be present there and assigned to the corresponding categories with the attributes you have added for them.

 Phone: 1(877) 215.8104
 Login
Login