In order to create a blog with RapidWeaver, you should select the appropriate template for your website. For the purpose of this tutorial, we will use the Alpha template.
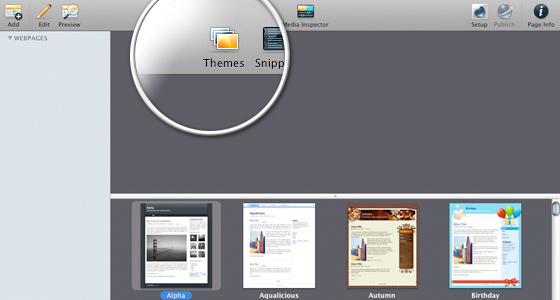
You just have to click on the Themes button at the top of your screen and select the theme that best suits your needs.
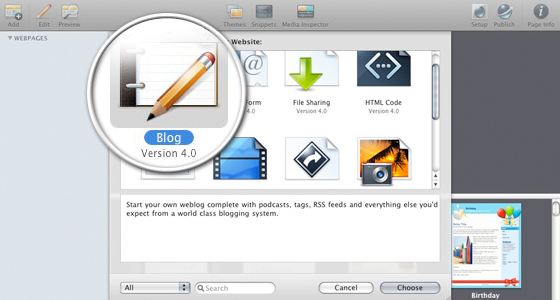
Now you can add the blog page to your website. To do this, you have to click on the Add button at the top left part of your screen. Next, press the “Blog” category and click “Choose button”.
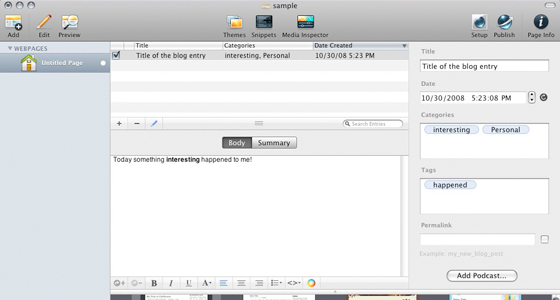
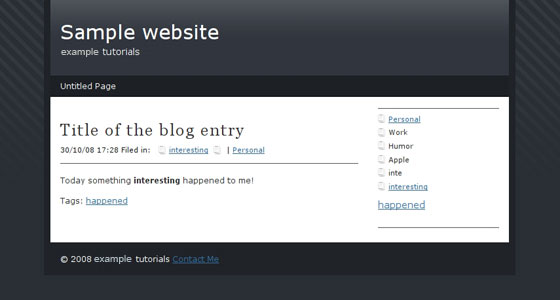
Now you should press the “+” to add a new article to your blog. You will see a friendly WYSIWYG (What You See Is What You Get) editor that you can use to enter the article text. We have entered only “Today something interesting happened to me!”.
Next you have to add a title for your blog article in the Title field. If you wish, you can set categories of entries. Just type the name of the category into the “Categories” field and press enter; you can then specify the next category.
The same way you can specify the tags for your article. Once you are ready with the creation of your article, press again the “+” button to add a new article or the Publish button to upload the current one.
Once the upload is done, you will receive a green icon notice. All you have to do now is to press the OK button.
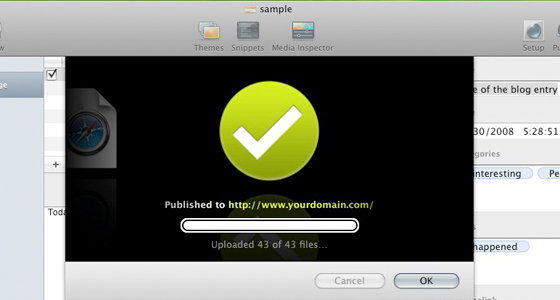
Congratulations! You have now published your first blog entry using RapidWeaver! You may now browse to your newly-created website!

 Phone: 1(877) 215.8104
 Login
Login